Frequently Asked Question
3. Installation
Last Updated 14 days ago
Install DeskCamera on the PC whose screen, webcam, application window, audio source, or other source you want to stream.
- Download the DeskCamera x64 or x86 setup package from the Download page. Use x64 for 64-bit Windows. Use x86 only for 32-bit Windows.
- Run the installer and follow the setup steps.
- If the installer offers browser management, enable it only if you want to manage DeskCamera from another computer through a browser. This option has additional requirements. See System requirements and Managing DeskCamera from a Web Browser.
- If an NVR/VMS or another computer will connect to DeskCamera, allow the Windows Firewall rules during installation. See Ports used by DeskCamera and firewall rules.
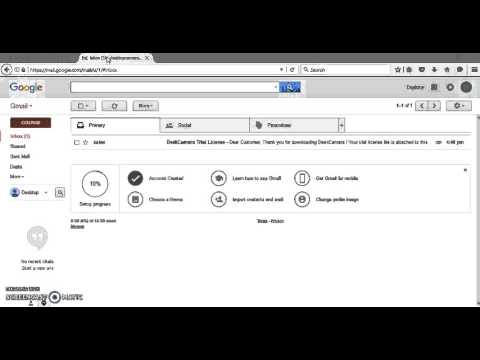
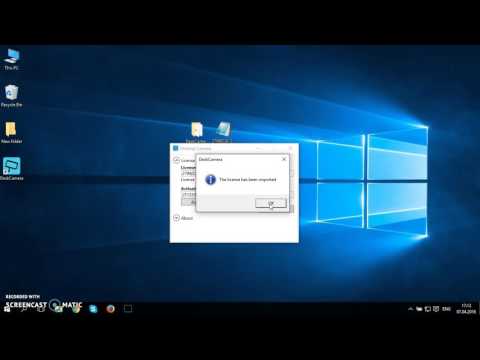
- Start DeskCamera, import the license file from your email, and activate it. If this PC has no Internet access, see Offline Installation and License Activation.
- Select the source you want to stream and add DeskCamera to the NVR/VMS. See After Installation.
Installing or upgrading through Remote Desktop
Run the installer at the local desktop when possible. After installation, start DeskCamera at the PC itself and configure the main screen camera before the first Remote Desktop connection.
If DeskCamera was started or upgraded during a Remote Desktop session, return to the local desktop, exit DeskCamera completely, and start it again. This refreshes the local display setup and does not remove saved settings.
For Remote Desktop setup and limitations, see Using DeskCamera with Remote Desktop.
The videos below show the basic installation and activation flow.